Baking artisan sourdough bread can seem intimidating, but with the right information, it turns into an enjoyable kitchen adventure. This article will explain the best method to create a loaf with a chewy, crusty exterior and a soft, flavorful interior. We’ll break down the process into clear and simple steps, from the creation of the starter to the final bake in the oven.
Creating Your Sourdough Starter
The first step in your journey towards perfect sourdough bread is creating a sourdough starter. This mixture of flour and water is left to ferment, attracting wild yeasts and beneficial bacteria from the environment. The starter is what will give your bread its unique, tangy flavor.
Avez-vous vu cela : What’s the Key to a Gourmet Coffee-Rubbed Ribeye Steak with a Red Wine Sauce?
To make your starter, mix equal measures of flour and water in a bowl, roughly 1 cup of each. Stir until smooth, then cover with a cloth and let rest in a warm, draft-free place. After 24 hours, discard half the starter and feed it with more flour and water. Repeat this feeding process daily. After a few days, the starter will become bubbly and smell slightly sour, indicating it’s ready for baking.
Mixing and Fermenting the Dough
Once you have a mature starter, the next step is mixing the dough. Combine the starter, flour, and water in a bowl, ensuring all ingredients are thoroughly incorporated. A dough scraper can be an invaluable tool for this stage, as it allows you to fully blend the ingredients without overworking the dough.
A lire en complément : Can You Bake a Gourmet Lemon Meringue Pie with a Crispy Crust?
After mixing, let the dough rest for 30 minutes. This period, known as autolyse, allows the flour to fully absorb the water and kickstarts the gluten development. After this rest, add the salt, then knead the dough lightly in the bowl.
Next, cover the dough and let it ferment at room temperature. During this time, the yeast in the starter will begin to consume the flour’s sugars, producing carbon dioxide gas and alcohol. This process will take several hours but results in a dough with a complex flavor profile and a robust rise.
Shaping and Proofing the Dough
Once the dough has doubled in size, you’re ready for the next step: shaping and proofing. To shape your bread, gently deflate the dough on a lightly floured countertop, fold it over itself a few times, and then shape it into a tight ball. Place the dough seam-side up in a cloth-lined bowl dusted with flour.
After shaping, let the dough proof, or make its final rise. This should take about 1 to 2 hours, but the exact timing will depend on the temperature of your kitchen. The dough is ready to bake when it has risen significantly but still springs back slowly when poked.
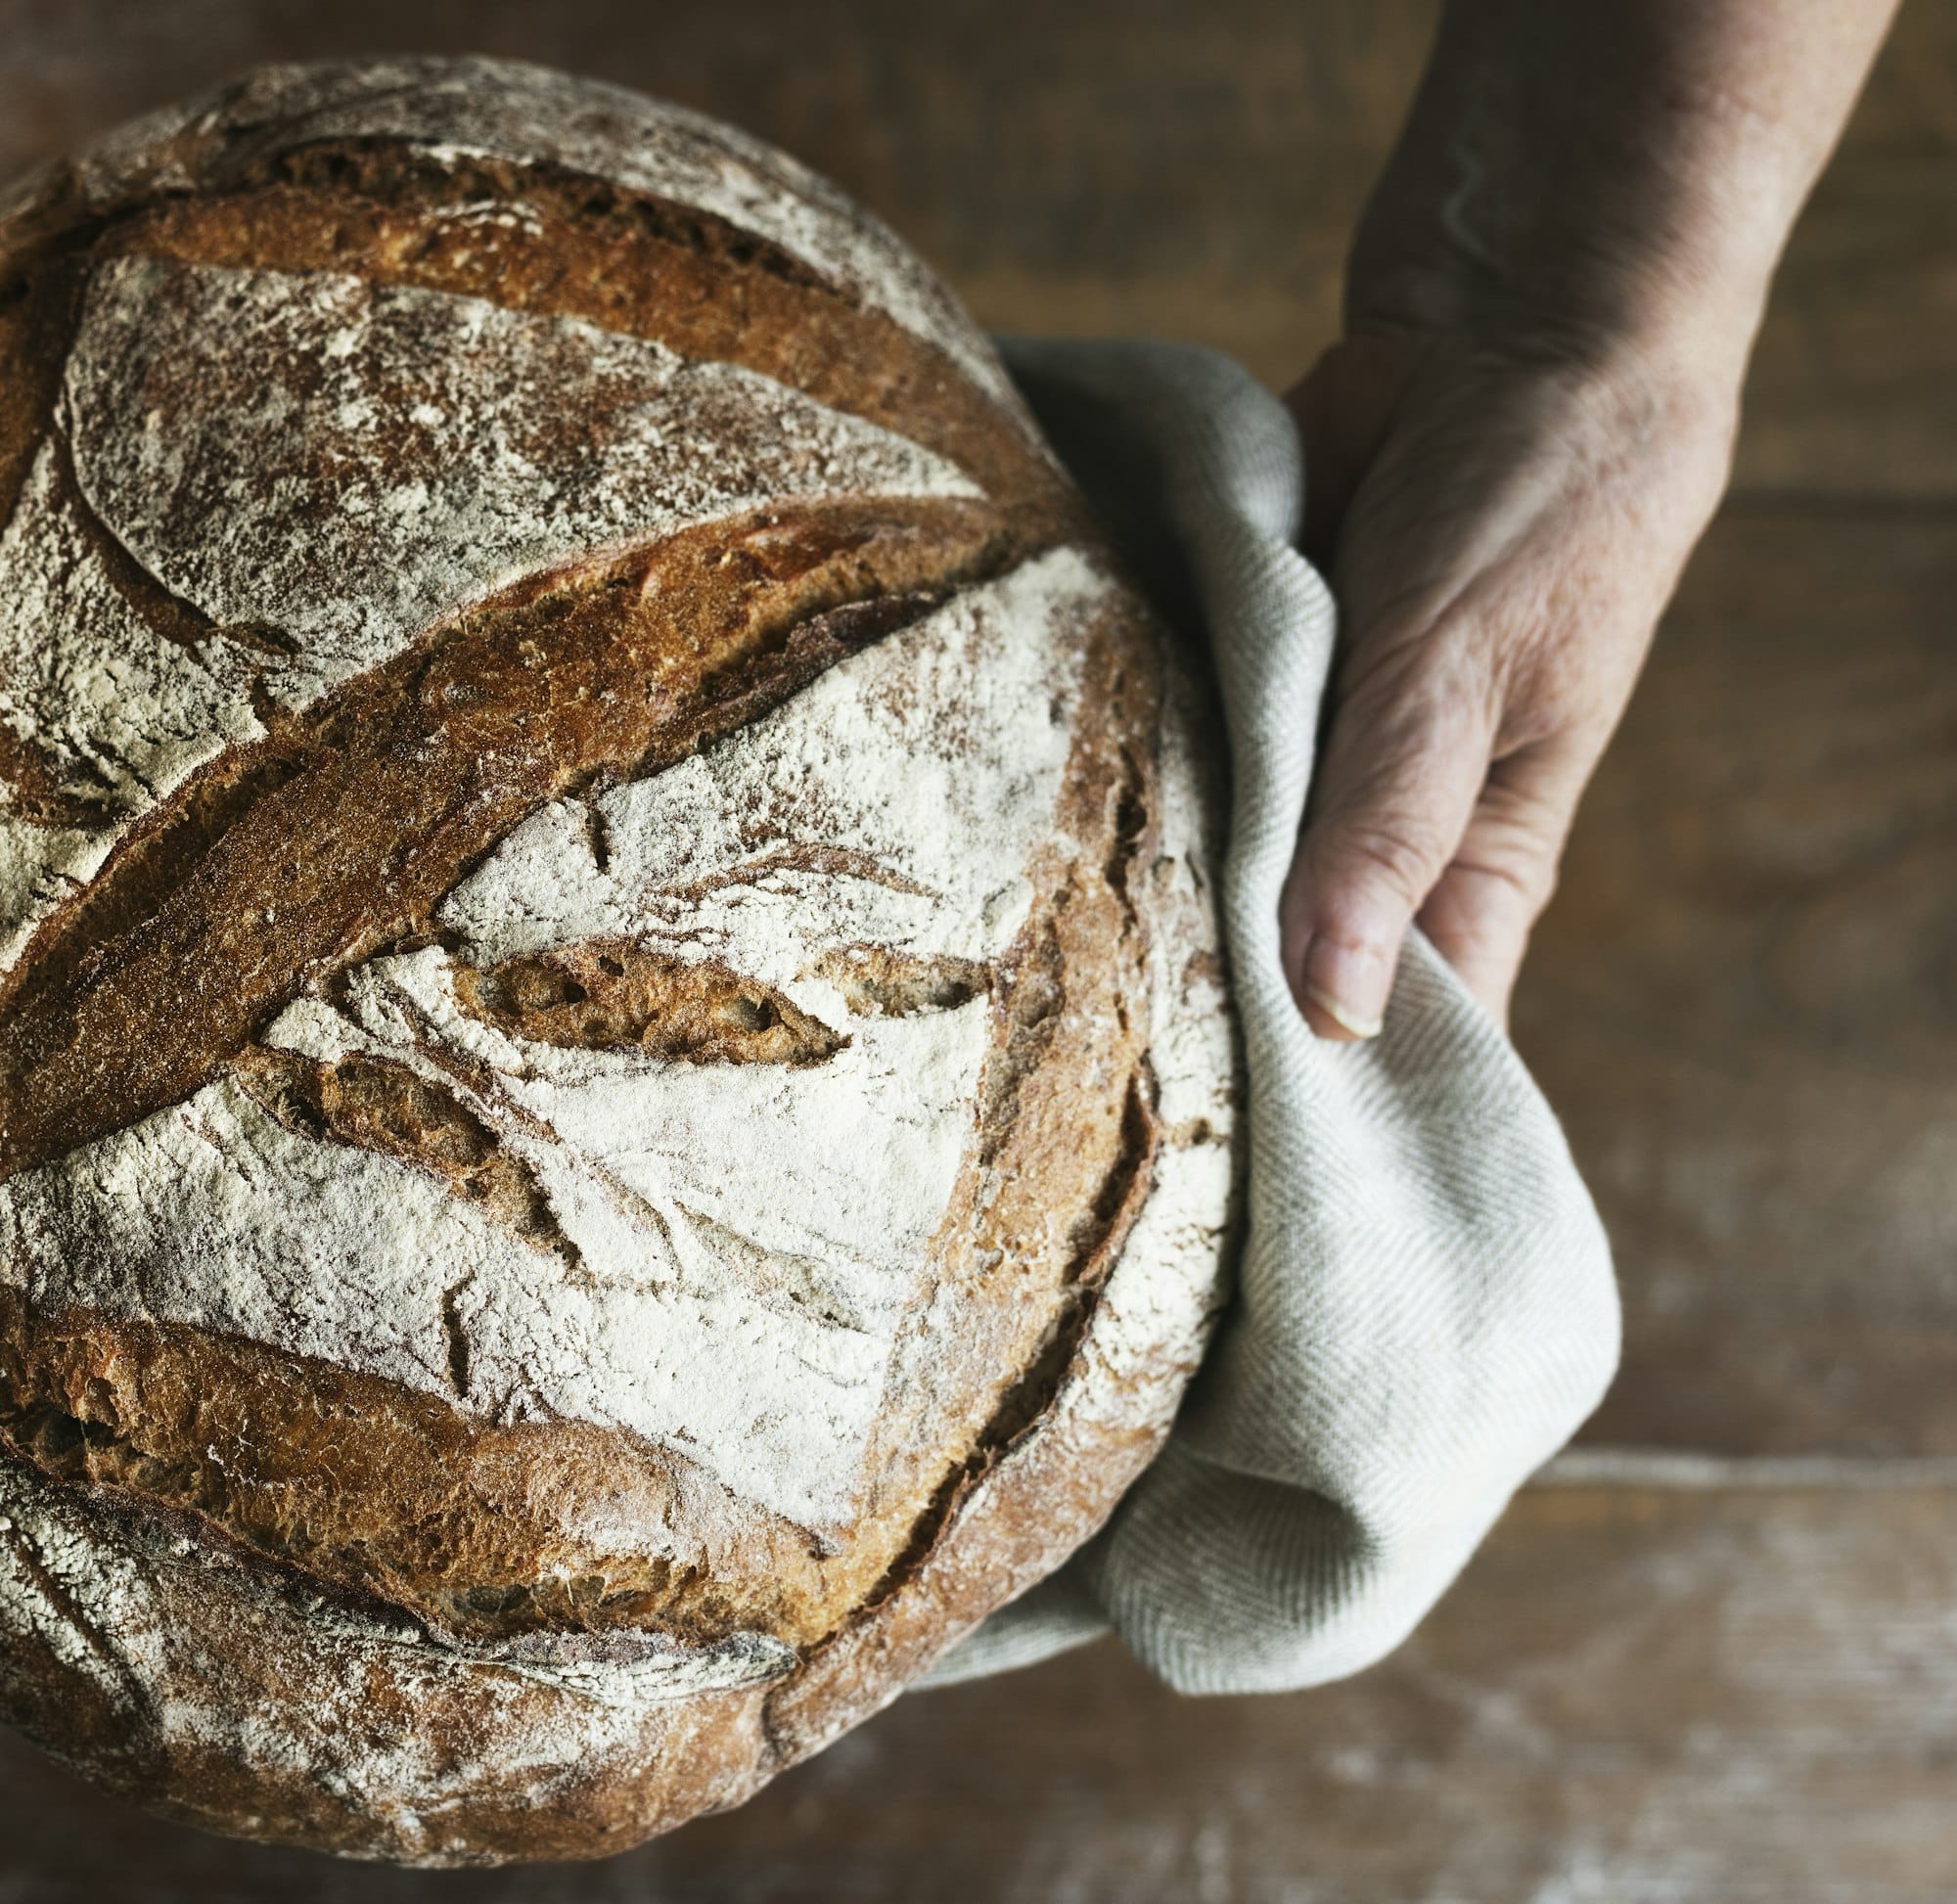
Baking Your Sourdough Bread in a Dutch Oven
The Dutch Oven technique is a favored method among artisan bakers for its ability to create a beautiful, crusty loaf. Preheat your Dutch oven in a hot oven for around 30 minutes. In the meantime, turn your proofed dough onto a piece of parchment paper.
Carefully transfer the dough and parchment into the preheated Dutch oven, then cover with a lid. This will trap steam inside the pot, creating a moist environment that helps the bread rise and develop a glossy, chewy crust.
Bake your bread in the Dutch oven for around 20 minutes, then remove the lid and bake for a further 20-30 minutes until the crust is a deep, golden brown, and the bread sounds hollow when tapped on the bottom.
Cooling and Storing Your Sourdough Bread
After baking, it can be tempting to immediately cut into your fresh loaf, but it’s best to let your bread rest. Cooling for at least an hour allows the bread’s interior to finish cooking from the residual heat and makes for easier slicing.
For storing your sourdough bread, wrap it loosely in a cloth or place it in a paper bag and store at room temperature. Avoid plastic bags, which can make the crust soft. Properly stored, your bread will remain fresh for several days.
Baking artisan sourdough bread is a labor of love, but the result is a flavorful, chewy loaf that’s hard to resist. With practice, patience, and a little bit of know-how, you’ll be baking beautiful sourdough in no time. Happy baking!
Mastering the Stretch and Fold Method
Key to achieving the perfect chewy texture in your sourdough bread is mastering the stretch and fold method. This technique promotes gluten development, enhancing the bread’s structure without overworking the dough.
For this process, you’ll need to let your dough rest for about 30 minutes after the initial mixing. Then, with wet hands, you’ll gently lift and stretch one side of the dough and fold it over to the opposite side. Turn your bowl and repeat this process until all sides of the dough have been stretched and folded over.
This stretch and fold should be performed a few times during the bulk fermentation stage, typically every 30 minutes for the first few hours. This method will not only strengthen the dough but also aid in gas retention, resulting in a nice, open crumb.
Remember, the key here is to be gentle. You want to preserve those precious air pockets that the wild yeasts are working so hard to create. As the dough ferments, it will become more elastic and easier to handle. By the end of the bulk fermentation, your dough should be noticeably larger, with plenty of air bubbles visible.
Using the Right Flour for Your Sourdough Bread
The choice of flour can significantly impact the outcome of your sourdough bread. Generally, bread flour is the preferred choice for sourdough baking. It has a higher protein content compared to all-purpose flour, which means more gluten formation — leading to a chewier texture and better oven spring.
However, don’t be afraid to experiment with different types of flour. You can introduce whole wheat or rye flour to a portion of your bread recipe for a deeper flavor and denser crumb. It’s all about finding what works best for you and your sourdough starter.
Remember to always keep your flour well-sealed in a cool, dry place. Fresh flour is essential for maintaining the activity of your sourdough starter and achieving a successful rise in your bread.
Conclusion: The Journey to Perfect Artisan Sourdough
Baking artisan sourdough bread with a chewy crust might seem like a daunting task, especially for beginners. However, with patience, passion, and practice, it becomes an incredibly rewarding process.
The key to a perfect sourdough loaf lies in understanding the fermentation process, mastering the stretch and fold technique, using the right flour, and baking in a Dutch oven. Remember to handle your dough gently, particularly during the shaping and proofing stages, to preserve those precious air pockets.
Lastly, observe and learn from each baking experience. Your sourdough starter’s activity can vary based on many factors, including room temperature and the quality of your flour. Don’t be discouraged if your first few loaves don’t turn out as expected. Keep experimenting with different techniques and ingredients, and you’ll soon be baking artisan sourdough bread like a pro.
So, get your hands in flour, stir up that sourdough starter, and embark on your baking adventure. Your journey to the perfect chewy, crusty sourdough bread awaits. Happy baking!